When I purchased the roofing felt, I bought the heavy duty kind and since my roof is only 196 sq feet (or so) I bought a roll that would cover 208 square feet. The framer, however, informed me that I would need more than one roll. But, he had a partial roll we could use which would save me a trip to the store. Yay!
My framer used his felt on the first / lowest row of the felt and then mine on the top layers. The problem is that the felt he used was much, much, thinner material and he used it on the windy side of the house. When the first wind came up it caught the edge, tore, and buckled, and flipped over. I tried laying down 2x6's to hold it down until the corrugated roofing could be sourced and purchased. It didn't help.
When I met with Lewis from Taylor Metal (my roofing angel from heaven) he told me, first off, that roofing felt for my almost-flat roof wouldn't work. You see, my original plan was to put the roofing felt on the house until I could buy the corrugated and then put that over the felt. He said I would need ice and rain shield under the corrugated to really ensure that the water wouldn't penetrate and eventually damage the roof sheathing. Then he proceeded to tell me exactly what I would need to fit my budget, my roof style, and my skill set.(beginner installer) Like I said, Roofing Angel!

I went away the next weekend, knowing I had a firm plan in place, albiet a new one, and happy to be progressing once again. When I returned, I found standing water in the house, and wet spots where the water flowed into the house because, after being ripped to shreds by yet another storm, my roofing felt was rendered completely useless.
I hurried and in the almost-dark, put a large tarp on top of the house that I borrowed from a friend. That night it rained again. But I slept knowing the house was wrapped like a present and couldn't get water damaged any further.
The next morning I woke to standing water in the house, AGAIN. The tarp I had used was so old it had virtually NO protective attributes left. So I torn it down, purchased a NEW tarp from Home Depot, and re-wrapped the house. Sigh....

The roofing had arrived, now I just had to find a dry day to install it.
But wait, what is this I see? A break in the weather!!!

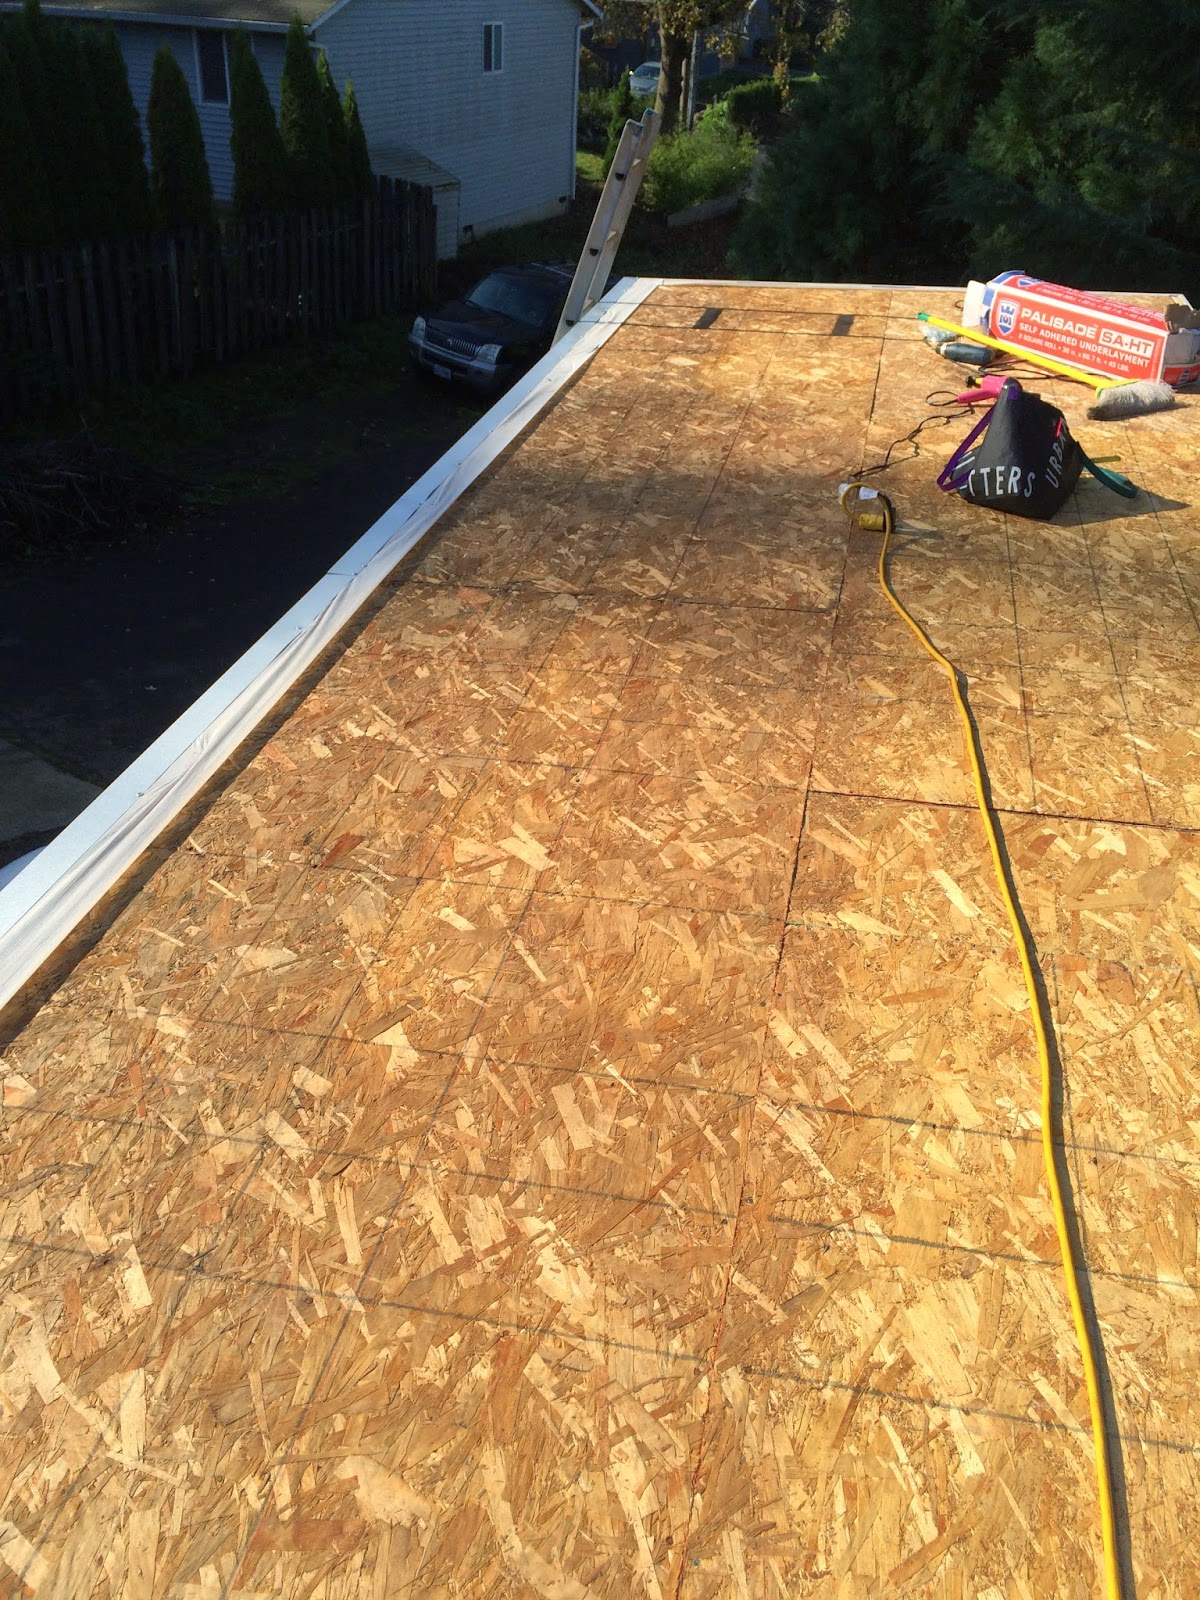
Here you can see what's left of the roofing felt, after I removed the tarp, and before I started installation of the drip edge.

Drip edge installed.
That was easy enough!
I then spent 3 hours with a heat gun, mold prevention spray, and a broom; cleaning and drying out the roof sheathing before I installed the ice and rain shield. I also removed what was left of the roofing felt.

Ice and Rain Shield....aka "One Ginormous Rubber Sticker!"
Before installation....

...and after installation.

Installation of row two is complete.
This process really isn't too tough, just measure, cut it to length, roll it out while removing the sticky backing, and smooth it with your hands.

Almost done with the final row and then I ran out of material.

But I had planned ahead and had the extra piece I needed to complete the project.
If it weren't for the felt drama and the band of multiple storms that had flown by, this process would have been super easy. But as it was (and I should have know this, given that I live in Oregon) getting the house and roof dry, and KEEPING it dry enough to install the roofing was the hardest part.
I used a lot of towels and endless hours of running multiple heaters in the house to get it dried out but once the ice and rain shield went on, my problems of water in the house ceased to be a problem.
No comments:
Post a Comment