Sunday, November 30, 2014

A Roof Over My Head (Literally) - Part Two

As I mentioned in Part One of this article, my Roofing Angel Lewis recommended that I use ice and rain shield as a underlayment for my almost flat roof.  It was easy to install and after I did so, it was a week before I could put up the top layer of corrugated metal.  However, not a single drop of water came into the house during that time, and the manufacturer says you can leave the ice and rain shield, by itself, for several months if need be.

But before I go on, I'd like to say another quick THANK YOU to the folks at Taylor Metal.


THANK YOU ASHLEY AND LEWIS!!!

While there are many different roofing types for "normal" houses, tiny houses on trailers like mine have far fewer ones; basically, metal and metal.  I could have chosen a raised seam metal roof but, frankly, I wanted the installation to be as easy as possible and from a cost perspective, roofing for my 196 square feet is VERY affordable.


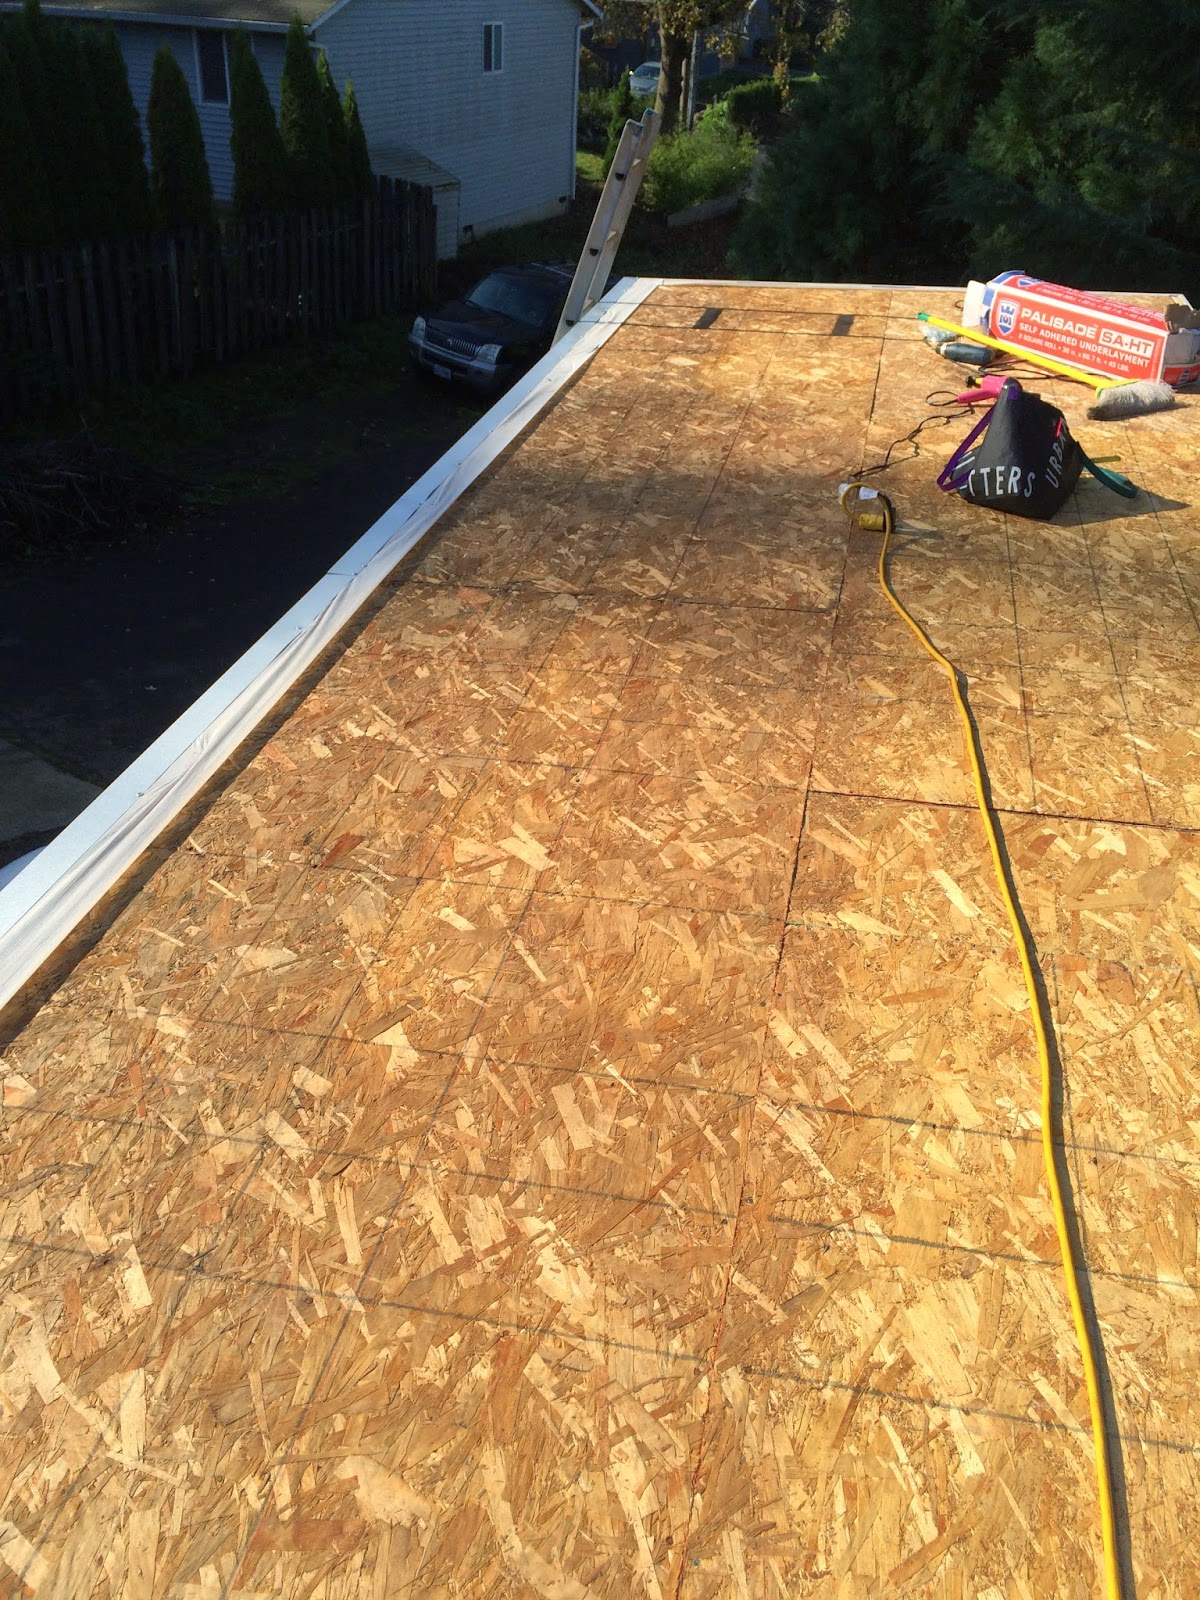
Dry, and protected, and ready for installation.


First, you lay out the butyl tape on the outer edge.  
It's like putty, so you have to be careful not to rip it or stretch it too thinly.
(and don't let the extra roll drop off the roof, like I did)


Next, you put the "wiggle foam" on top of the butyl tape.
Pay close attention to how the top and bottom edges line up 
and make sure the "wiggles" are in the same position for both.

Starting at the DOWN WIND part of the house (in my case it was the back of the house) set the corrugated metal panel, in place.
Drill equally spaced holes ON THE RIDGES, 4 wide and 4 long.
(this was my son's suggestion and it took me several panels to realize that drilling first instead of using the "self tapping" screws to drill the holes, was much faster)
Do not put holes or screws in the valley's of the metal, it will leak.
Using screws with self sealing rubber gaskets (they're probably called "roofing screws") screw the panel to the roof, being very careful not to screw too tightly and dent the panel.
Add a bead of silicone caulk to the edge of the panel.


It will look like this:


Set the next panel on top of the first one, drill, screw, and repeat.


While I was on the roof I was constantly bothered by the weight of the extension cord, wanting to pull the drill right off the roof.  It really was a pain in the butt and I was sitting on it and put the nail bags on it, etc...


This pictures shows why its a good idea to have friends who know what they're doing.
As you see here, my boyfriend shows up, wraps the cord around the top rung and......
there you go.....
no more cord pulling problems.

Did I mention that my boyfriend came over just as I was finishing up the roofing?  Ha!

Anyways, it was a good thing he did because I ended up being a half sheet short of what I needed, material wise.  THIS time, however, I had not planned correctly and didn't have an extra piece.  I did have, however, some extra pieces of corrugated that I planned to use as siding.  But, they were all cut to size prior to delivery.  Because I was short a half sheet, I ended up needing to cut one of my siding pieces to finish the roof.  (I can always order another piece, for the siding)


Luckily I had a metal cutting blade for my circular saw, and a boyfriend who knows how to cut long straight lines in difficult corrugated metal.

Just now, while writing this blog, I realized I do not have a picture of the completed roof taken from the top.  I guess you'll have to see that view when I post my article about the flashing installation.  (gotta' wait for another sunny day for that project as well)


I do, however, have this AWESOME pic of the roof line, taken from below.

Ain't it PURDY?
:o)


Saturday, November 29, 2014

A Roof Over My Head - Part One

My roofing adventure started with felt...bad, thin, old, felt.

When I purchased the roofing felt, I bought the heavy duty kind and since my roof is only 196 sq feet (or so) I bought a roll that would cover 208 square feet.  The framer, however, informed me that I would need more than one roll.  But, he had a partial roll we could use which would save me a trip to the store. Yay!

My framer used his felt on the first / lowest row of the felt and then mine on the top layers.  The problem is that the felt he used was much, much, thinner material and he used it on the windy side of the house. When the first wind came up it caught the edge, tore, and buckled, and flipped over.  I tried laying down 2x6's to hold it down until the corrugated roofing could be sourced and purchased. It didn't help.

When I met with Lewis from Taylor Metal (my roofing angel from heaven) he told me, first off, that roofing felt for my almost-flat roof wouldn't work. You see, my original plan was to put the roofing felt on the house until I could buy the corrugated and then put that over the felt.  He said I would need ice and rain shield under the corrugated to really ensure that the water wouldn't penetrate and eventually damage the roof sheathing.  Then he proceeded to tell me exactly what I would need to fit my budget, my roof style, and my skill set.(beginner installer)  Like I said, Roofing Angel!


I went away the next weekend, knowing I had a firm plan in place, albiet a new one, and happy to be progressing once again. When I returned, I found standing water in the house, and wet spots where the water flowed into the house because, after being ripped to shreds by yet another storm, my roofing felt was rendered completely useless.

I hurried and in the almost-dark, put a large tarp on top of the house that I borrowed from a friend.  That night it rained again.  But I slept knowing the house was wrapped like a present and couldn't get water damaged any further.

The next morning I woke to standing water in the house, AGAIN. The tarp I had used was so old it had virtually NO protective attributes left.  So I torn it down, purchased a NEW tarp from Home Depot, and re-wrapped the house.  Sigh....


The roofing had arrived, now I just had to find a dry day to install it.

But wait, what is this I see?  A break in the weather!!!


Here you can see what's left of the roofing felt, after I removed the tarp, and before I started installation of the drip edge.


Drip edge installed.  
That was easy enough!


I then spent 3 hours with a heat gun, mold prevention spray, and a broom; cleaning and drying out the roof sheathing before I installed the ice and rain shield.  I also removed what was left of the roofing felt.


Ice and Rain Shield....aka "One Ginormous Rubber Sticker!"
Before installation....


...and after installation.


Installation of row two is complete.
This process really isn't too tough, just measure, cut it to length, roll it out while removing the sticky backing, and smooth it with your hands.


Almost done with the final row and then I ran out of material.


But I had planned ahead and had the extra piece I needed to complete the project.

If it weren't for the felt drama and the band of multiple storms that had flown by, this process would have been super easy.  But as it was (and I should have know this, given that I live in Oregon) getting the house and roof dry, and KEEPING it dry enough to install the roofing was the hardest part.  

I used a lot of towels and endless hours of running multiple heaters in the house to get it dried out but once the ice and rain shield went on, my problems of water in the house ceased to be a problem.


Tuesday, November 11, 2014

Tiny Plumbing for Dummies.

After much deliberation, I decided to use PEX plumbing for my rough in.  In a nutshell, it is SUPER easy to install and once you have the crimping tool (which costs about $70) the rest of the materials are cheap and will last for the life of your tiny house. I simply could not envision myself learning how to "sweat a joint" which is a crucial step required for copper pipe installation.  And, if I didn't get it just right, it would leak.  Ugh.  Nope.  Not my thing.


I was lucky enough to discover that a co-worker of mine was not only a tiny house enthusiast but also a proud PEX Crimper Owner.  He plans on plumbing his own tiny house but really wasn't quite sure how to do it.  So, he volunteered to do mine, with his buddy for collaboration.  They decided to "practice" on my house so they'd know what NOT to do with theirs.

Free Installation?  OK!


Before we begin, I'd like to thank George Morlan Plumbing Supply for their stellar service and patience. They didn't care how many questions I asked, or how dumb I sounded, they were helpful and respectful and offered easy to install products and fittings that I didn't even know I needed.  It really, really, helped to have a knowlegeable and supportive staff behind me.  As a side note, most of them had never heard of a tiny house and were all very enthusiastic about the details.  Now, when I go in, they call me by my first name and ask about my tiny house.  I've never gotten THAT level of service from Home Depot!


How much did all of the materials for my rough in project cost?  Less than $100.


Supplies wise, we drew diagrams for where the water would come on, how many corners we had to go around, how many "tees" we'd have to get, etc....  This can be a bit of a challenge but if you take your time and have your floor plan in front of you, it actually isn't too hard once you get started. For instance, every faucet and water appliance will need both hot and cold water.  So, you know you'll need at least TWICE the number of tees when compared to your appliances.  


It might be easier to show you than tell you so here we go.....


Step One:  Gather your tools and materials.


Step Two:  Find a friend to help. Hopefully he already owns a crimping tool.  Mine did.


(I actually found TWO friends and they brought their angle drills too.)


Step Three:  Drill holes in the studs where the waterline will pass through.  


Depending on how close your studs are together, this can be super easy or VERY hard.  I had to make 3 trips to the hardware store for the right length of drill bit/auger where I had 4 studs together adjacent to a narrow access spot.  Ugh!


Step Four:  Pull the water lines through the holes and avoid having to cut the line if possible.  This can be tricky around corners so you'll have to plan your materials carefully so you have enough 90 degree elbows for your corners.  (again, two per)  


Step Five: Take cool pictures like this one!


Step Six:  Install one copper end cap angle for each incoming line, for each appliance. (see those two tees?)  This is where the kitchen sink goes.


Step Seven:  Attach the exterior water source line, attach hose, and pressure test the system for leaks by turning on the water.


You have to buy your exterior water inlet valve at the RV part supply store. 
Hardware stores rarely, if ever, stock them.


Step Eight:  Add nail plates so you won't accidentally drill or hammer a nail through your water line once it gets all covered up with sheet rock.


Step Nine:  Pay your "volunteers" with growlers of local beer and coffee!


In all honesty, when we turned on the hose and pressurized the system it did leak, in the ONE spot where we couldn't use the PEX; where the incoming line meets the PEX tubing. I've been back to George Morlan and they said I'll have to take it off, and re-install with LOTS of plumbers tape.  And, another lesson learned was the fact that the incoming source line has a one way valve so even if you shut off the water and remove the hose, it won't drain.  I really need to install a drain so I can remove the water BEFORE it freezes.  As long as the house remains un-insulated, freezing pipes is a foregone conclusion.