
End of Day One.
Just like "normal" houses, my first wall was built, from the outside in, while lying on the floor.
Since, however, the wall is taller than our floor is wide; braces on either side of the fenders were needed to keep it flat.
Many Tiny Houses are built with 24" on center studs but my framer (aka "boyfriend") was reluctant to do so. His (aka "our") logic is that tiny houses as they travel down the road actually need as much support as a regular house, if not more. Saving a bit of weight but risking some stability, didn't seem like a trade off I should make.
Also, I have to admit, since I have a triple axle trailer; worrying about the weight of the materials is not as much of an issue for me as it might be for other builders.

Day Two.
By far, the most stressful part of my tiny house build has been, raising the first wall. The wall was mostly sheathed since it's easier to do so when the wall is flat than when it is vertical. That also means the wall was very, very heavy. We used manual wall jacks and that process leaves very little room for error. If the wall falls there is no place to escape being badly hurt. To ensure the ground braces didn't slip, we parked the truck on top of them. I then borrowed 18 foot long 2x4's from a neighboring build and watched, helpless, with my finger on the 911 button in case anything went wrong. My framer / boyfriend insisted that he has done this dozens of times and that there was nothing to "get freaked out about" but even the notion that he might be crushed in front of my eyes was enough to make me tear up in fear.

Ta Da!!
The second wall went up easily, using only two people to lift it into place.

Setting the short wall, however, wasn't without complications.
This picture shows the wall, blocked above the trailer's thread rods. On the right you can see the notch in the sheathing that will rest, just above the brake light. Once up, we had to slide the framed wall over the rods, removed the blocks, and then hammer it into place from the top.

Like this!

After having perfected the "block, slide, and hammer" process on the second wall,
the third wall was a breeze!

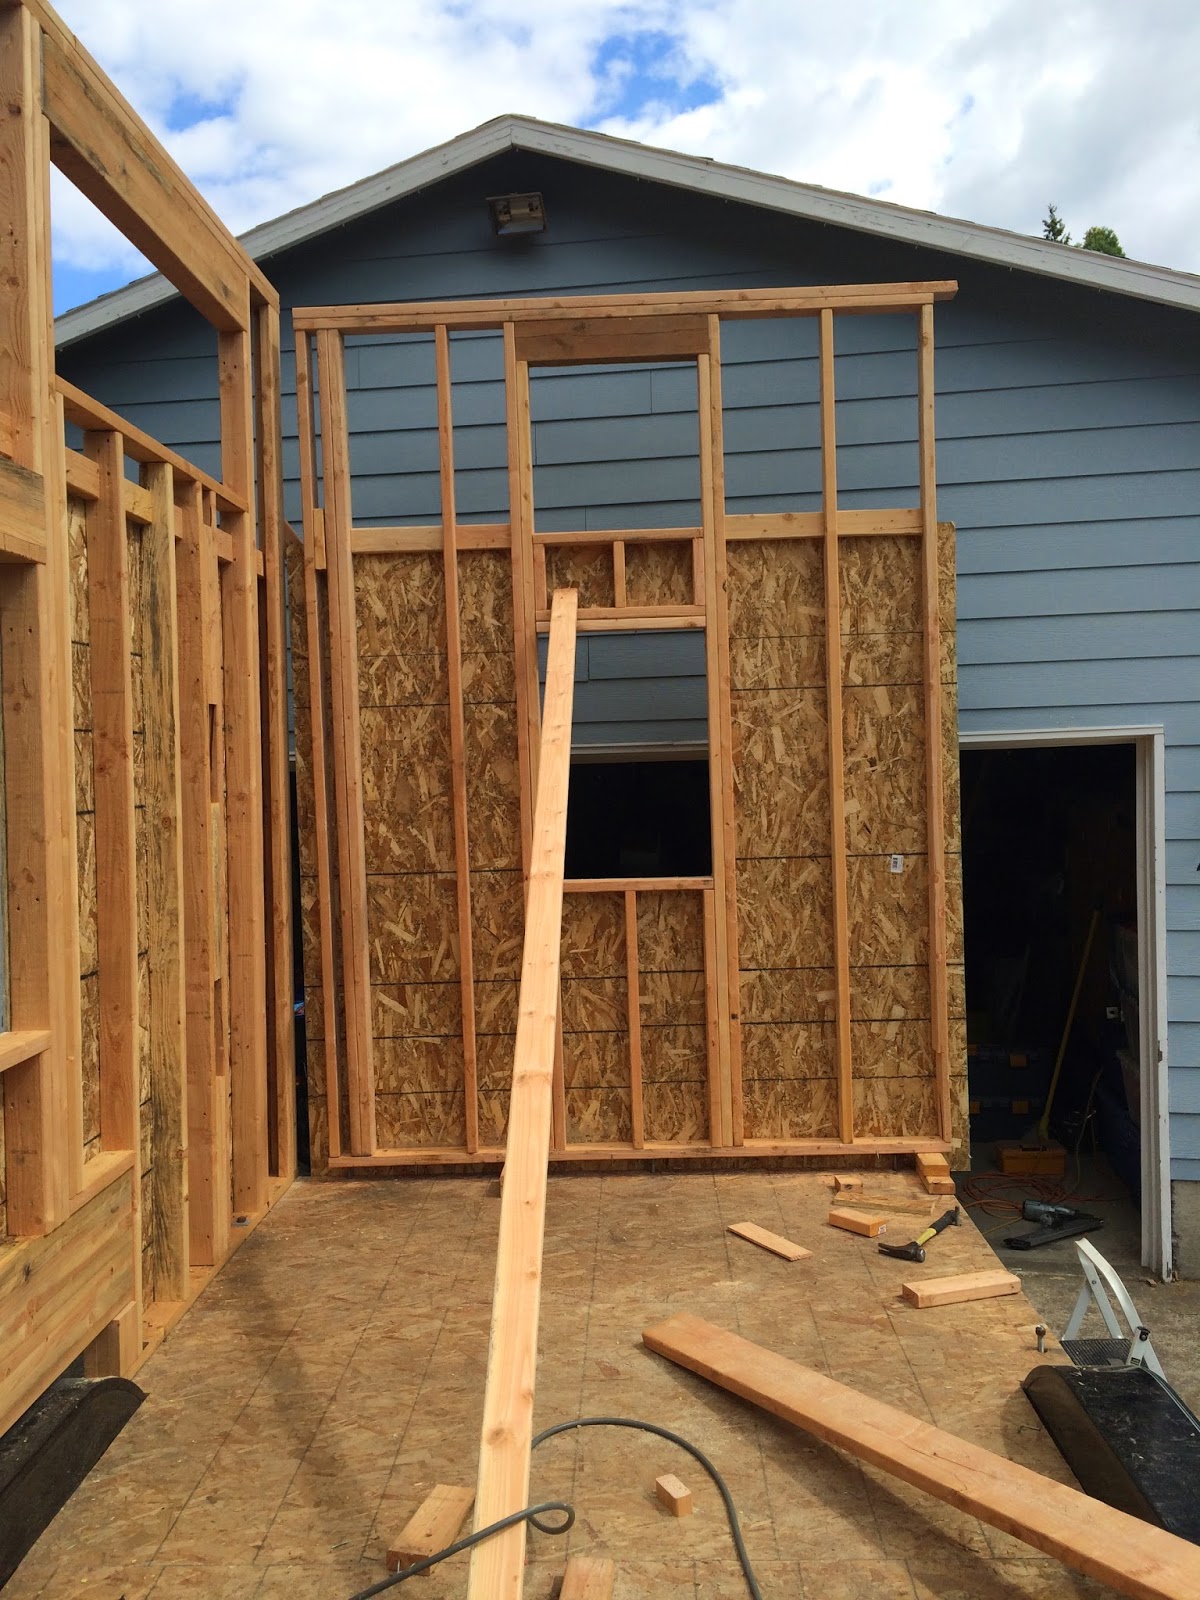
The fourth wall brought on a whole new set of challenges.
Since we couldn't build the fourth wall flat on the trailer, this wall had to be built from the inside out and end-to-end-bracing was required to keep it flat. (on a NOT flat section of my driveway) Adding complication to the build was my design's placement of two small stair-step windows. Also, since the wall had to be framed from the inside out, sheathing wasn't possible. This made the wall MUCH easier and much less dangerous to lift but it also meant that sheathing would take longer and would be much harder than the other three walls.

Almost ready for lifting!
End of Day Seven.

From the inside out, viewed from the back.
Watching this part of the build was such an amazing and inspiring process to watch.....
Seeing my design, come to life, created by the one I love, was an experience I will NEVER forget!
No comments:
Post a Comment