Tuesday, October 21, 2014

Step by Step - House Wrap, Windows and Door Pics


Here we are, picking up where we left off. One, big, wooden box; on top of a very big trailer.


Because you have to overlap the house wrap, you have to start on the bottom.
Truth be told, however, this task doesn't really take that long to accomplish.


At this point I feel like I should get a bow to put on top.
It looks like a massive, wrapped, present.

Before we go on.......I'd like to stop a moment to thank our framing and wrap sponsor.
Can you guess who it is?  (Scroll down for the answer!)


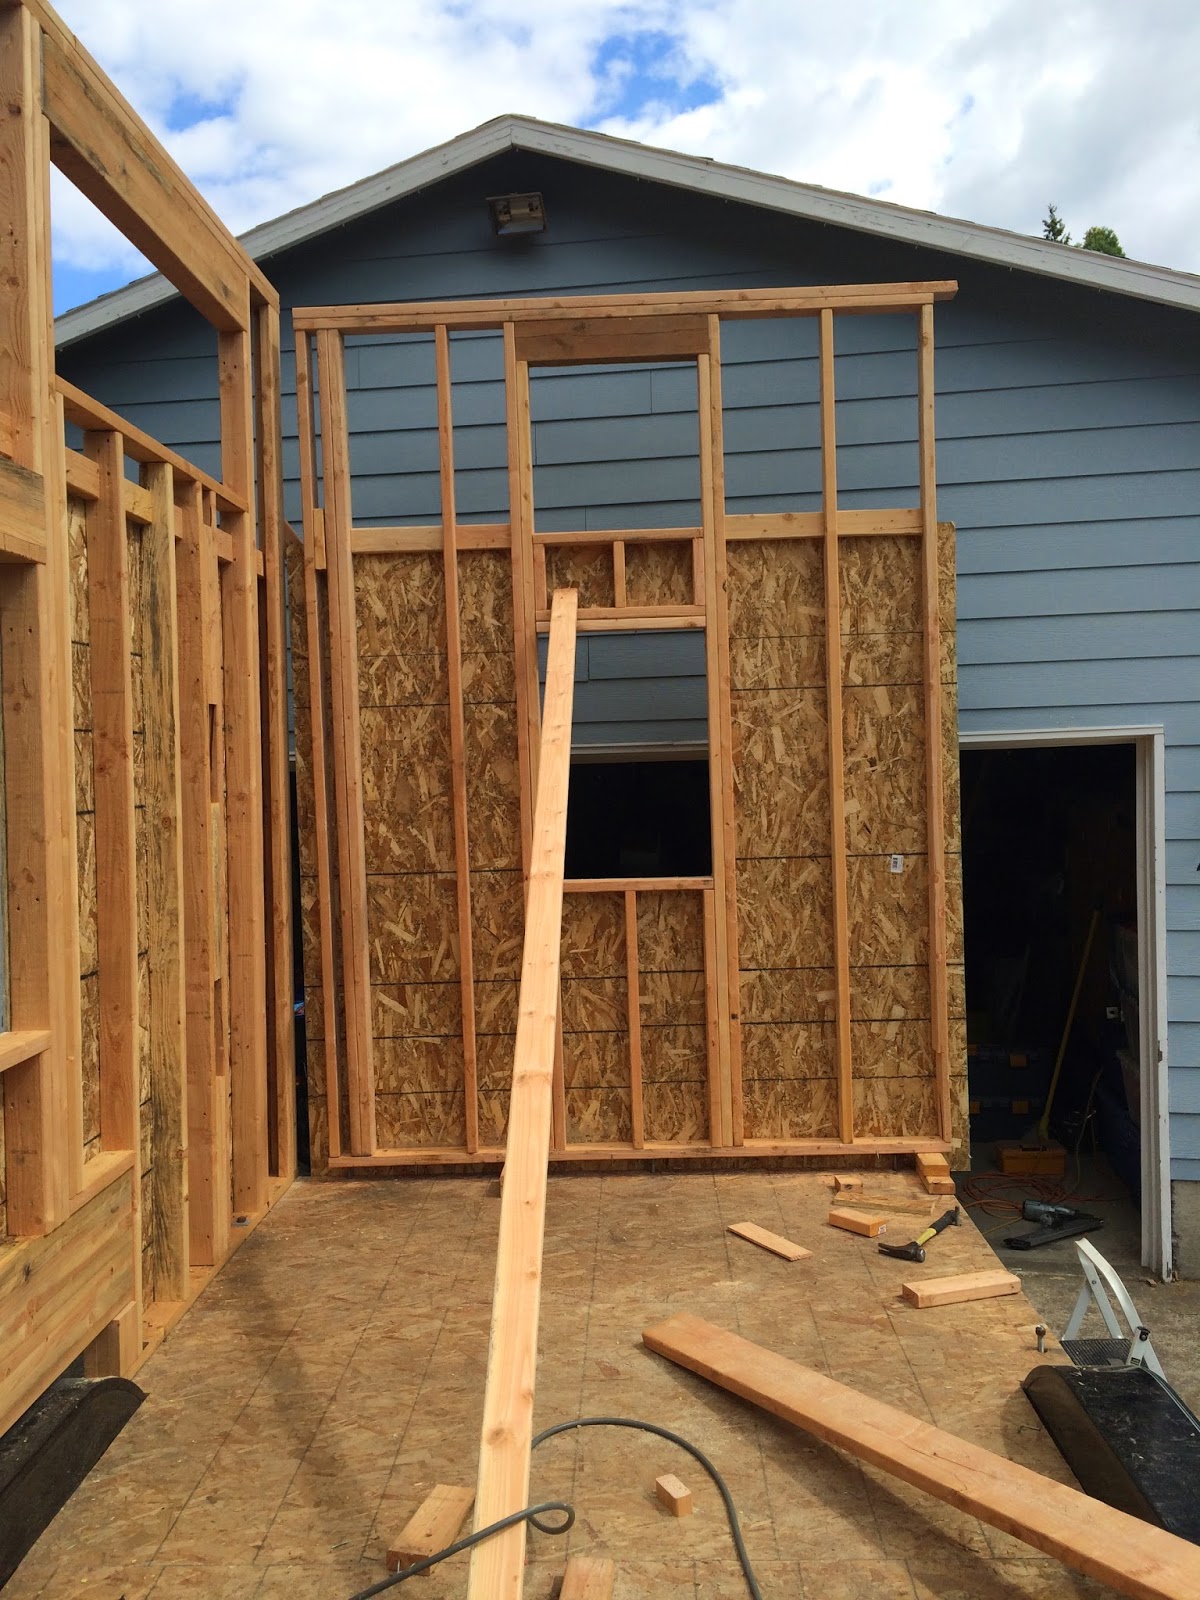
Within minutes of the house wrap completion, 
the widows and door openings where cut out and excess wrap was stapled to the frame.


Shortly after that, I added the tar coated sill flashing.  

I gotta' admit that I love this stuff.  It sticks to anything and is super easy to install.  Did you guess who my framing sponsor is, yet?

As weird as it sounds, I actually started my build with the windows. It's an odd place to start, I know, but I figured I would have a much easier time designing the house to fit the odd sized windows than the windows to fit the house.  I was right.  Parr Lumber let me raid their "bone pile" (windows that have been un-installed or returned) and I was able to pick up all the windows that I needed for my entire house, from one place at one time.


So, before we go one I'd like to take a moment to thank our fabulous window sponsor.

THANK YOU PARR!!!!


Next!  Windows!!

Here is my kitchen window (below) and my double loft window (above).  While mounting windows is typically a pretty easy process, we had two types of windows so it took more than one try to get them set just right.  We had windows that had nail fins, and windows without nail fins.  The nail fin ones were a breeze..  After mounting the windows that didn't have nail fins, flush, we un-installed them and purchased Z-Strips, and re-installed them to look like the rest of the windows.  Well worth the extra effort and now they look so much better!


These are, by far, my favorite windows! 

After the installation, we wrapped the top and sides with more of that wonderful tar coated flashing tape. Bring on the Oregon Rains!  No risk of leaking here!


This is one of my favorite pics of my tiny house.

My brilliant son took the pencil and paper drawings of my house, created a CAD file, and then printed a 3D model of my house to an exact 1/48th scale.  As you can see it has every little detail, contained therein, and I love it!


Last, but not least, is my door!

I actually made a mistake in choosing my first door.  It was a right swing door, framed for 2x6 framing.  It was amazing, but wrong.  So I returned it to Parr, and purchased a reclaimed door from a recycled building place, painted it, took it to a jamb builder to put it all together and ready for install. Here, it is roughly installed because we cannot finally install it until the shower arrives. 

And so......without further ado..........what you've all be waiting for......
Who IS my framing and wrap sponsor?


But I bet you already knew that, didn't you?

THANK YOU LOWES!!!  WE LOVE YOU!!!


Thursday, October 16, 2014

Step by Step - Roof, Lofts, and Sheathing Pics


Once the four walls were up we immediately started work on the loft joists.

We used 2x6'x and spaced them approximately 16 inches on center like the rest of the build.
This is the front / full loft.


To make it easier, the walls were framed square, 
using only the sheathing to bridge the 6 inch gap in the front.


As you can imagine, its a lot easier to work on the roof with the loft joists to walk on.
This is the rear / queen loft.


Once all the roof joists are secure, we can remove the internal bracing.

But at this point, the roof sheathing was not yet done, so the braces make sure the structure doesn't shift.


This was an awesome day, I gotta' admit.

This picture was taken from the rear of my house and looking into my kitchen.
At this point, I could get a real feel for the space and while I'm taking this picture I'm thinkin'
"I can DO THIS!"  My kitchen  is U shaped with the counter tops wrapping the entire space between the full sized appliances.  As such, my kitchen will occupy this entire end of the trailer.  By tiny house standards my kitchen is rather large, but then again, my entire house is rather large by tiny house standards.  It is 196 square feet.


The top layer of sheathing waiting until after the roof joists were done.

Running the sheathing over the ends of the joists added a lot of stability to the structure.  This is especially important in the front where the wind from the road might start to lift the roof when in transport.  Ummm.....that would be bad. 


Now the sheathing is done!

This pic is looking towards the rear of the house where the bathroom, washer/dryer, and my closet will sit; just to the rear of the fenders.  From this angle, the stairs will go up to the loft just to the right of where I am standing, and up over the fender.  The two chairs are sitting where my living room chairs will sit looking under the stairs to the entertainment area where a flat screen TV will be mounted to the wall.  Can you envision it?


This might look like just a big wooden box to you but it looks like home to me!


Back at work but smiling from ear to ear.
My Empty Nest is progressing nicely.....I'm so proud.


Sunday, October 12, 2014

Step by Step - Wall Framing Pics


End of Day One.

Just like "normal" houses, my first wall was built, from the outside in, while lying on the floor.
Since, however, the wall is taller than our floor is wide; braces on either side of the fenders were needed to keep it flat.
 
Many Tiny Houses are built with 24" on center studs but my framer (aka "boyfriend") was reluctant to do so.  His (aka "our") logic is that tiny houses as they travel down the road actually need as much support as a regular house, if not more.  Saving a bit of weight but risking some stability, didn't seem like a trade off I should make.
 
Also, I have to admit, since I have a triple axle trailer; worrying about the weight of the materials is not as much of an issue for me as it might be for other builders.


Day Two.

By far, the most stressful part of my tiny house build has been, raising the first wall.  The wall was mostly sheathed since it's easier to do so when the wall is flat than when it is vertical. That also means the wall was very, very heavy. We used manual wall jacks and that process leaves very little room for error.  If the wall falls there is no place to escape being badly hurt. To ensure the ground braces didn't slip, we parked the truck on top of them. I then borrowed 18 foot long 2x4's from a neighboring build and watched, helpless, with my finger on the 911 button in case anything went wrong.  My framer / boyfriend insisted that he has done this dozens of times and that there was nothing to "get freaked out about" but even the notion that he might be crushed in front of my eyes was enough to make me tear up in fear.


Ta Da!!


The second wall went up easily, using only two people to lift it into place.


Setting the short wall, however, wasn't without complications.  

This picture shows the wall, blocked above the trailer's thread rods.  On the right you can see the notch in the sheathing that will rest, just above the brake light.  Once up, we had to slide the framed wall over the rods, removed the blocks, and then hammer it into place from the top.


Like this! 


After having perfected the "block, slide, and hammer" process on the second wall, 
the third wall was a breeze!


The fourth wall brought on a whole new set of challenges.

Since we couldn't build the fourth wall flat on the trailer, this wall had to be built from the inside out and end-to-end-bracing was required to keep it flat. (on a NOT flat section of my driveway) Adding complication to the build was my design's placement of two small stair-step windows.  Also, since the wall had to be framed from the inside out, sheathing wasn't possible. This made the wall MUCH easier and much less dangerous to lift but it also meant that sheathing would take longer and would be much harder than the other three walls.


Almost ready for lifting!
End of Day Seven.


From the inside out, viewed from the back.

Watching this part of the build was such an amazing and inspiring process to watch.....

Seeing my design, come to life, created by the one I love, was an experience I will NEVER forget!